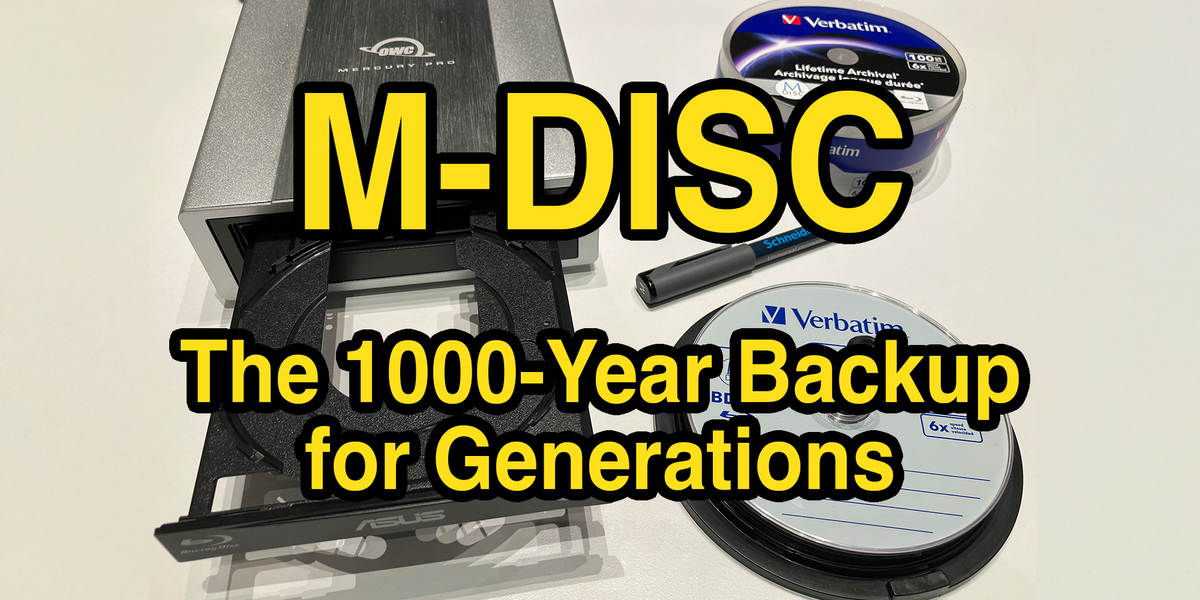
M-DISC: The 1000-Year Backup for Generations

What Makes M-DISC Different from Regular Optical Media?
While most people have moved away from optical discs for daily storage, there remains a critical gap in truly long-term archival solutions that standard cloud services or hard drives can't fill. This is where M-DISC technology provides unique advantages:
- Exceptional durability: Unlike regular optical media which typically degrades in 5-10 years, M-DISCs use mineral-based recording layers that manufacturers claim will last 1,000+ years
- Environmental resistance: Highly resistant to humidity, heat, light exposure, and other environmental factors
- True archival qualities: Perfect for "write once, read many times" preservation of irreplaceable data
- Offline protection: Provides complete immunity to ransomware, cloud provider outages, or online attacks
- Geographic redundancy: Can be easily stored in multiple physical locations
This makes M-DISC ideal for your most precious data that rarely changes but absolutely must be preserved long-term: family photos, legal documents, encryption keys, emergency recovery information, and critical business records.
While M-DISC requires special hardware for writing, a key advantage is that the discs can be read by any standard Blu-ray drive. This means you don't need specialized equipment to access your archived data - any computer with a Blu-ray drive can read M-DISCs.
Choosing the Right M-DISC Media
According to Wikipedia: "As of the 2020s, there are only 2 licensed manufacturers of M-Discs: Ritek, sold under the Ritek and RiDATA brands, and Verbatim with co-branded discs, marketed as the 'Verbatim M-DISC'."
M-DISC technology comes in several formats:
- DVD M-DISC (4.7GB capacity) - very hard to find, and super expensive. I don't recommend these at all!
- BD-R M-DISC (25GB capacity) - Amazon: Verbatim 25GB M-DISC
- BD-R DL M-DISC (50GB capacity) - Amazon: Verbatim 50GB M-DISC
- BD-R XL M-DISC (100GB capacity) - Amazon: Verbatim 100GB M-DISC
I've found the 100GB BD-R XL M-DISCs offer the best value for my archival needs. As digital assets like photos and videos continue to grow in size, the larger capacity minimizes the number of discs needed while providing better price-per-GB value in the long run. In my experience, the extra cost is justified by the convenience of managing fewer discs and the time saved during the burning process.
Required Hardware
To burn M-DISCs, you need:
- Compatible optical drive: Not all Blu-ray burners support M-DISC technology - you need a drive specifically advertised as M-DISC compatible. If using 100GB discs, ensure your drive specifically supports BD-R XL format.
- External Blu-ray writer: As a Mac user, I picked the Asus BW-16D1HT paired with the OWC Mercury Pro enclosure. I chose this burner because it had the best review ratings specifically for M-DISC burning among all others, even though it's only 4x speed. For the enclosure, I picked this one because it's nice and shiny, but you can use any compatible enclosure. I strongly advise buying components separately because pre-built external drives happen to have internal components swapped under the same model name, which some users on Reddit reported to cause compatibility issues.
- Sufficient computer resources: Burning high-capacity discs is memory and processor-intensive.
Step 1: Prepare Your System
Before starting the burning process, it's crucial to configure your system to prevent interruptions:
-
Disable automatic sleep and energy-saving features:
On macOS:
System Preferences > Battery > Options…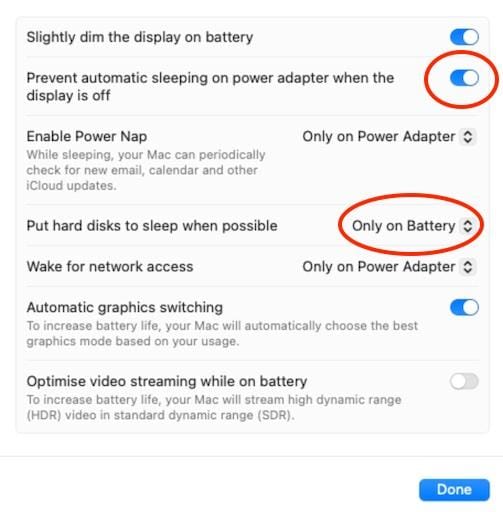
-
Ensure stable power supply (use AC power, not battery)
-
Close unnecessary applications to free up system resources
-
Connect and verify your external burner is recognized
Step 2: Clean Source Files
You want to ensure your archival data is free from unnecessary system files:
# Navigate to your source directory
cd ~/Workspace\ No\ Backup/photos-archive-2025

# Remove macOS .DS_Store files
find . -name '.DS_Store' -type f -delete
Step 3: Create an ISO Image
Creating an ISO image first rather than burning directly offers several advantages:
- Eliminates the risk of source data changing during the burn
- Reduces the chance of "buffer underruns" which can ruin discs
- Creates a digital copy you can keep separately
- Enables you to burn multiple identical copies if needed
Here's how to create an ISO image on macOS:
# Create a UDF-formatted ISO image
hdiutil makehybrid -o "photos-2025.iso" -udf -udf-volume-name "Photos 2025" ~/Workspace\ No\ Backup/photos-archive-2025
This command creates a UDF (Universal Disk Format) image suitable for Blu-ray discs.
Step 4: Burn the M-DISC
Now it's time to burn the image to your M-DISC:
# Burn the ISO image to the M-DISC
hdiutil burn "photos-2025.iso"
For 100GB M-DISCs, I recommend burning at 4x speed or lower, even if your drive and media support faster speeds (like 6x). While slower, this conservative approach has given me a 100% success rate across dozens of archival discs. Remember: when archiving irreplaceable data, reliability is far more important than saving time.
The burning process will:
- Detect your optical drive
- Ask for confirmation
- Burn the image
- Perform automatic verification after burning
The entire process typically takes around 3 hours for a full 100GB disc (including verification), so plan accordingly. For critical data, this time investment is well worth it.
Step 5: Advanced Verification (optional)
While the built-in verification from hdiutil burn is reliable (I've had no issues so far), for truly irreplaceable data I perform the additional checksum verification just to be extra safe:
# Generate checksums of original files
find ~/Workspace\ No\ Backup/photos-archive-2025/  -type f -exec shasum {} \; > original_checksums.txt

# After the disc is mounted, generate checksums of burned files
find /Volumes/Photos\ 2025/  -type f -exec shasum {} \; > m_disc_checksums.txt

# Compare the checksums (you may need to adjust paths in the files first)
diff original_checksums.txt m_disc_checksums.txt
If the diff command returns nothing, all files were burned correctly with matching checksums. This additional step provides superior confidence that your archival data is intact and will remain accessible years later.
Best Practices for M-DISC Storage
Once your M-DISCs are burned and verified:
- Label each disc with contents and creation date (use archival-quality disc pens)
- Store in proper cases - I recommend slim jewel cases for easier organization
- Maintain an inventory of all M-DISCs with dates and content descriptions
- Store in cool, dry locations away from direct sunlight
- Consider geographic separation by storing copies in different physical locations
- Periodically verify readability of older discs (I have scheduled a reminder once every 5 years)
Integrating M-DISC into Your Backup Strategy
M-DISCs serve a specific purpose in a comprehensive backup strategy. I use them as part of my 3-2-1+ backup approach.
They complement rather than replace regular backups to external drives, NAS devices, and cloud storage. My annual M-DISC archiving focuses specifically on:
- Critical documents and records
- Family photos and videos
- Emergency recovery information
- Encryption keys and security backups
- Software source code archives
Conclusion
M-DISC technology offers a unique and valuable solution for true long-term data archiving. While it requires an initial investment in compatible hardware and media, the peace of mind from knowing your most precious data is preserved for decades (or potentially centuries) is invaluable.
Have you used M-DISCs for your archival needs? What has your experience been? Feel free to share your thoughts or questions with me! I'm genuinely curious to hear from you!
Want more ideas, insights, or practical guides? Subscribe here for more tips and tricks: